I am sorry that I did not have a lot better pictures or a video as I had no intentions to post this repair but here it is.
I recently came across an old Goldstar 3DO game console that did not work at all. The system looked to be in pretty good condition but would not power on at all. I decided I was going to jump in and start troubleshooting.
I took the console apart and started checking the voltage on the transformer and various components. I used the schematic from 3dodev.com, Goldstar 3DO power supply schematics. They have a wonderful archive of data for the various 3DO consoles that is extremely helpful for anyone wanting to do repairs on these great consoles.
After looking at the schematics I saw that the transformer was not putting out enough power even though the 3DO is very forgiving in the range of power it needs, 12-20v is the range that it can deal with. I tested the various points where power should have been and kept finding that it was either not there or way under voltage. After looking and looking and looking for a replacement transformer and coming up empty. I did find Mark Fixes Stuff FZ-1 3DO and saw him take out a working one that I wanted!
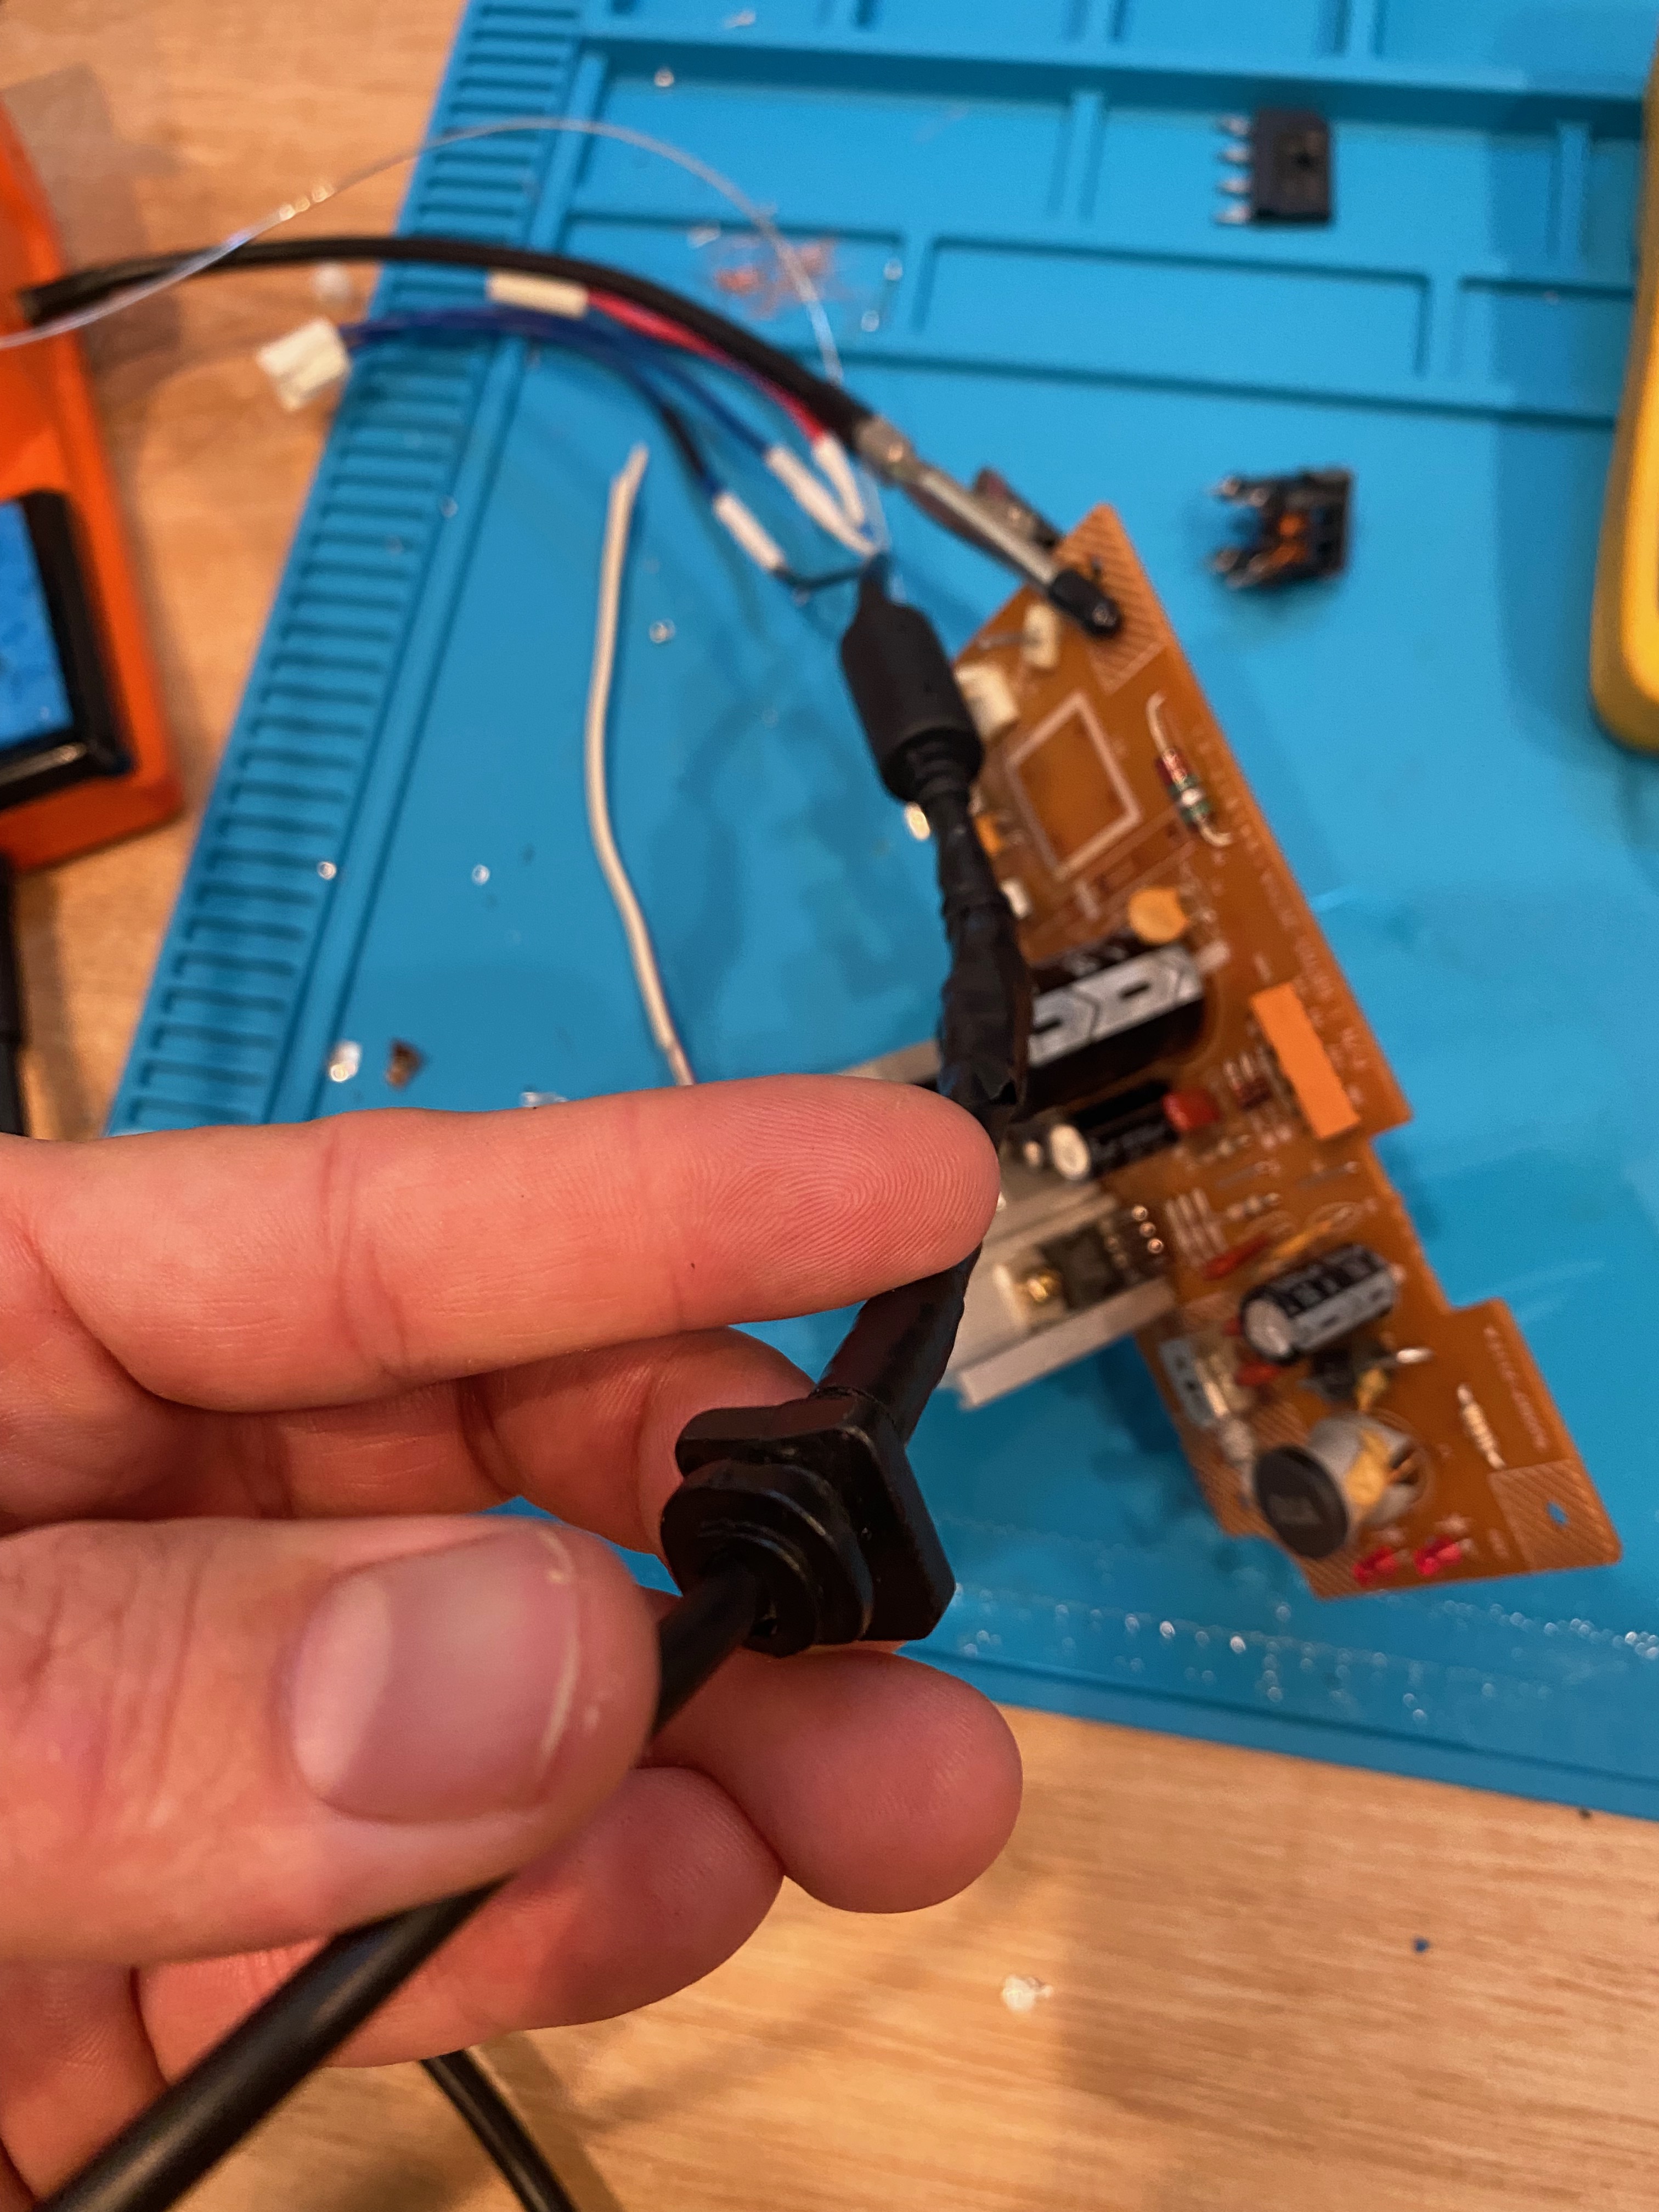
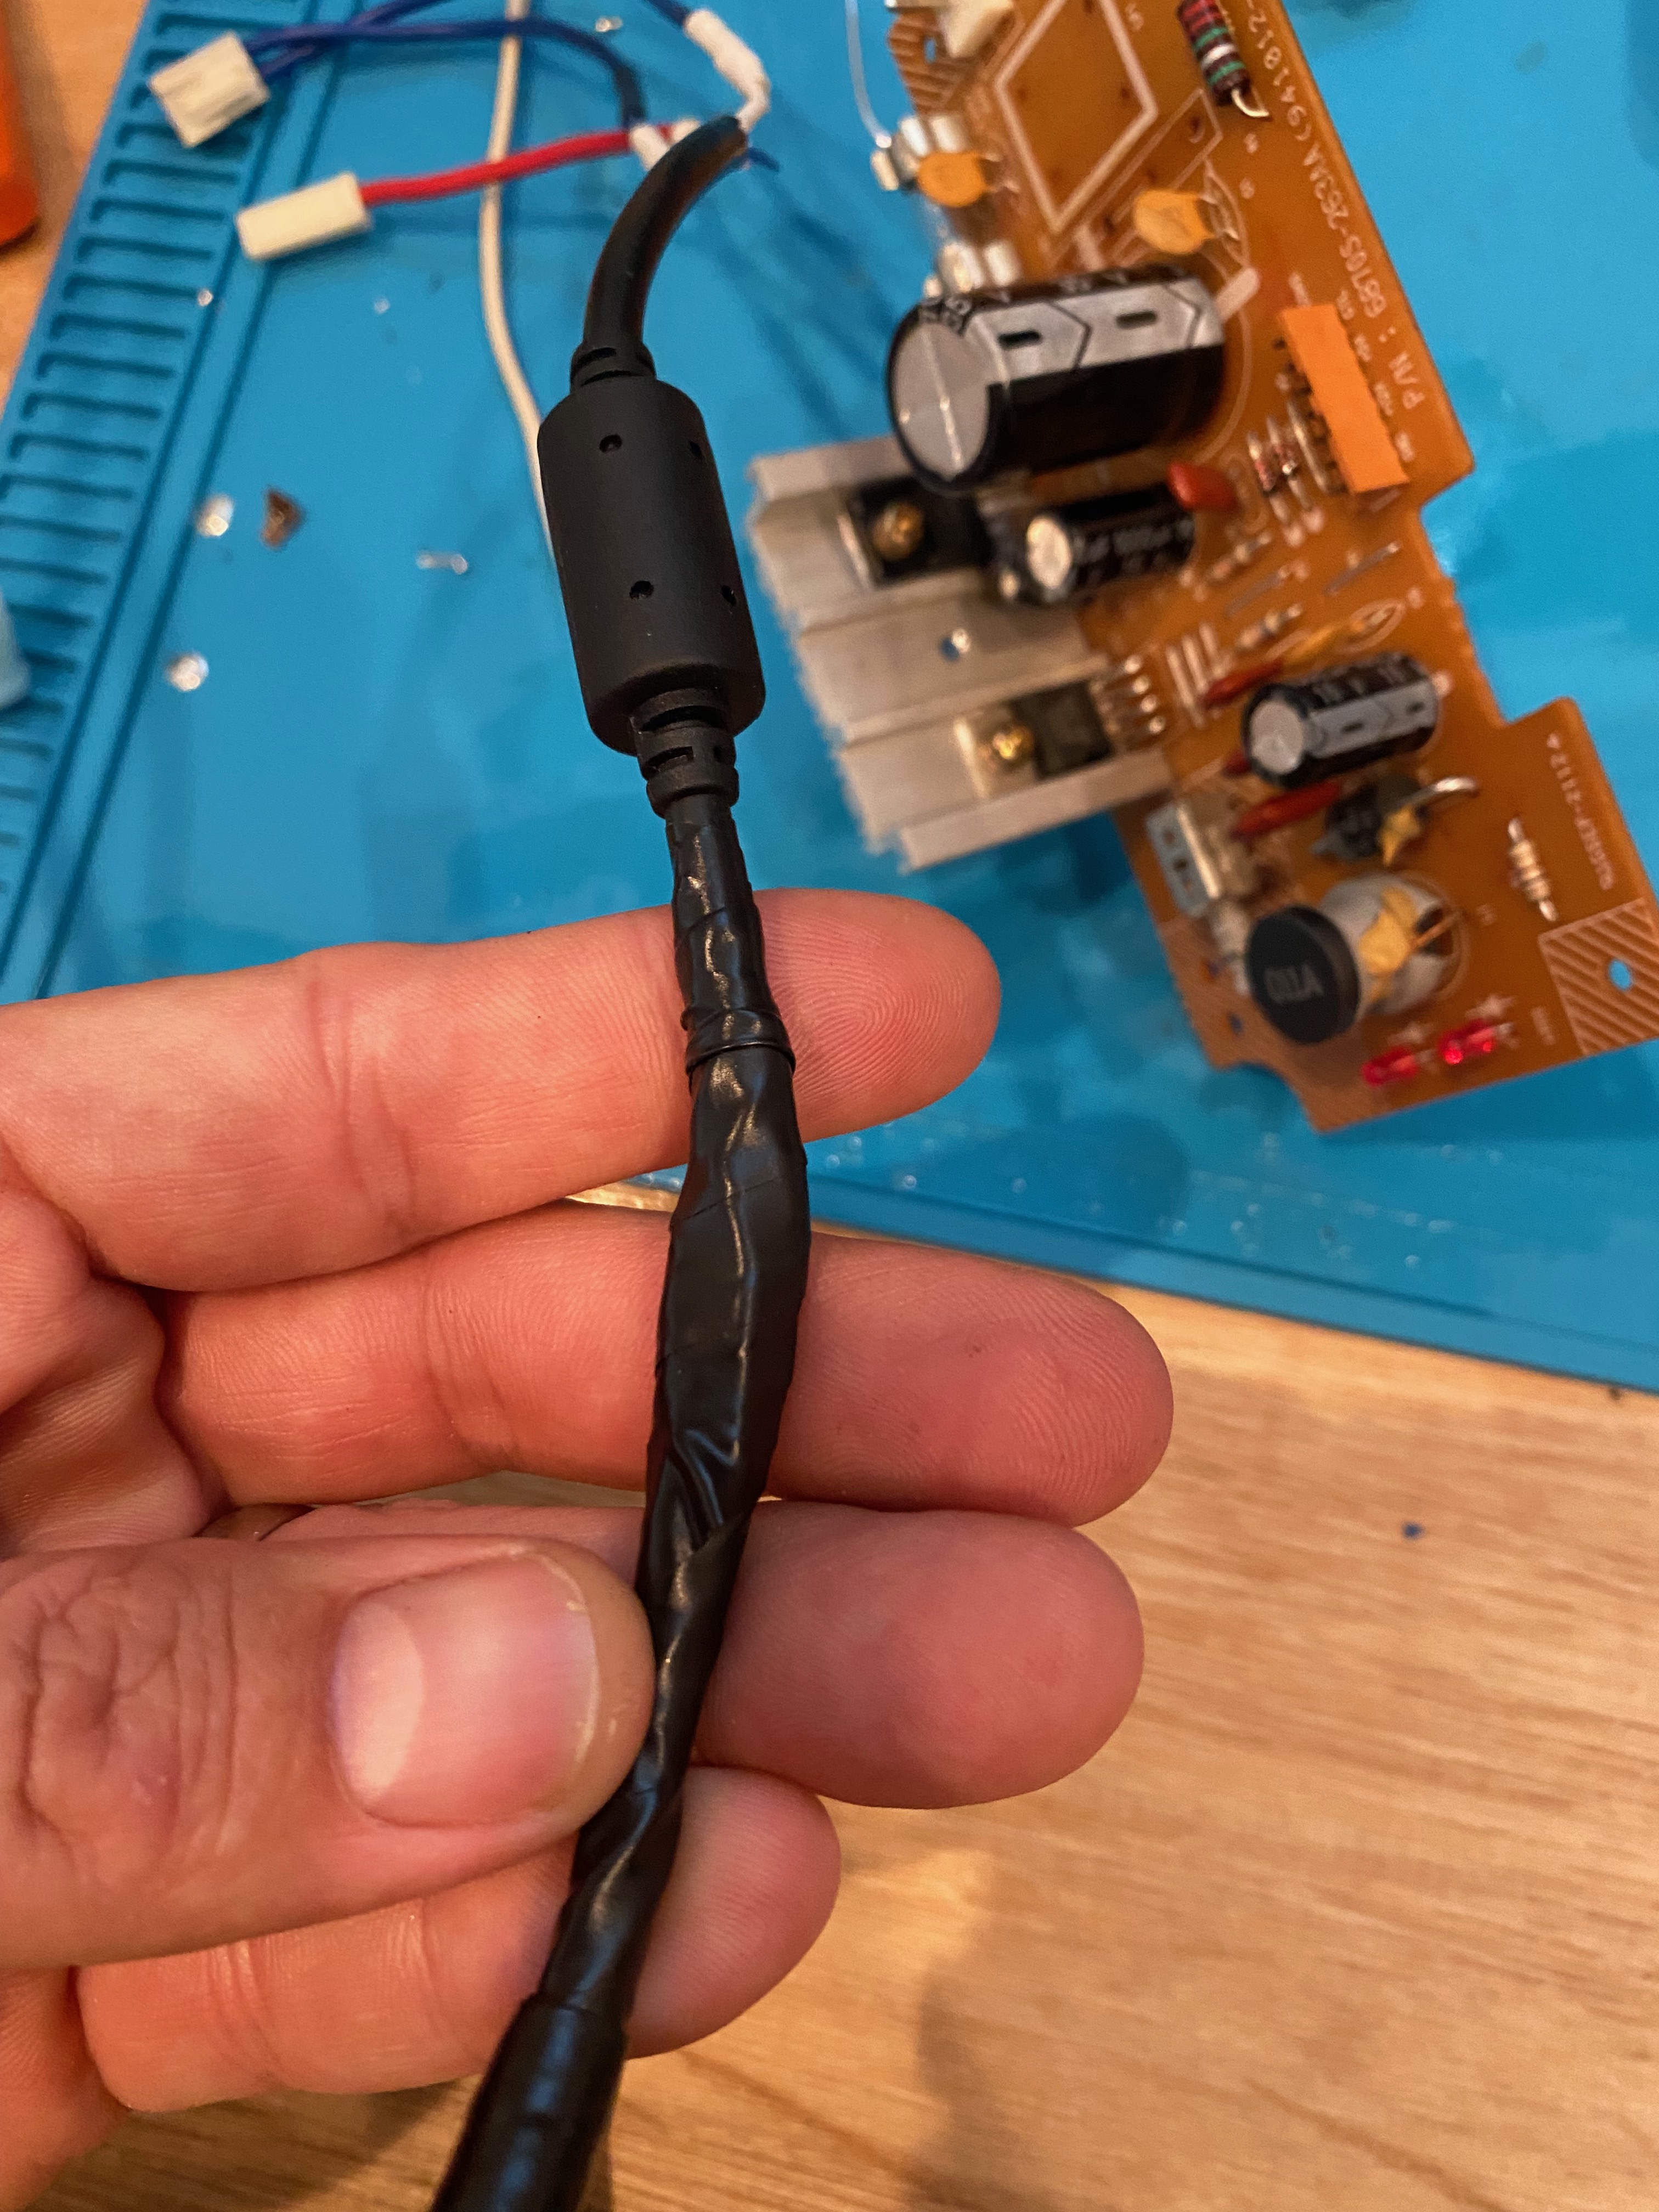
Watching Mark Fixes Stuff it made me think a little outside the box. I looked through my boxes of random saved gear and supplies and I found an old Dell 19.7v 3.7a laptop charger. This will be perfect! I took the charger and cut the end off as I wanted the bare wires to get the grommet from the existing cable (Figure 1). This way I didn’t have to make anything custom to hold the cable in the back of the 3DO. I cut the wire in two places since I wanted to save the choke (Figure 2) that was on the wire to block and interference. I tinned the wires, added some heat shrink and reconnected all the wires (Figure 3). I also used a bit of electrical tape that will stay inside the console and also help prevent the cable from getting pulled out (Figure 2).
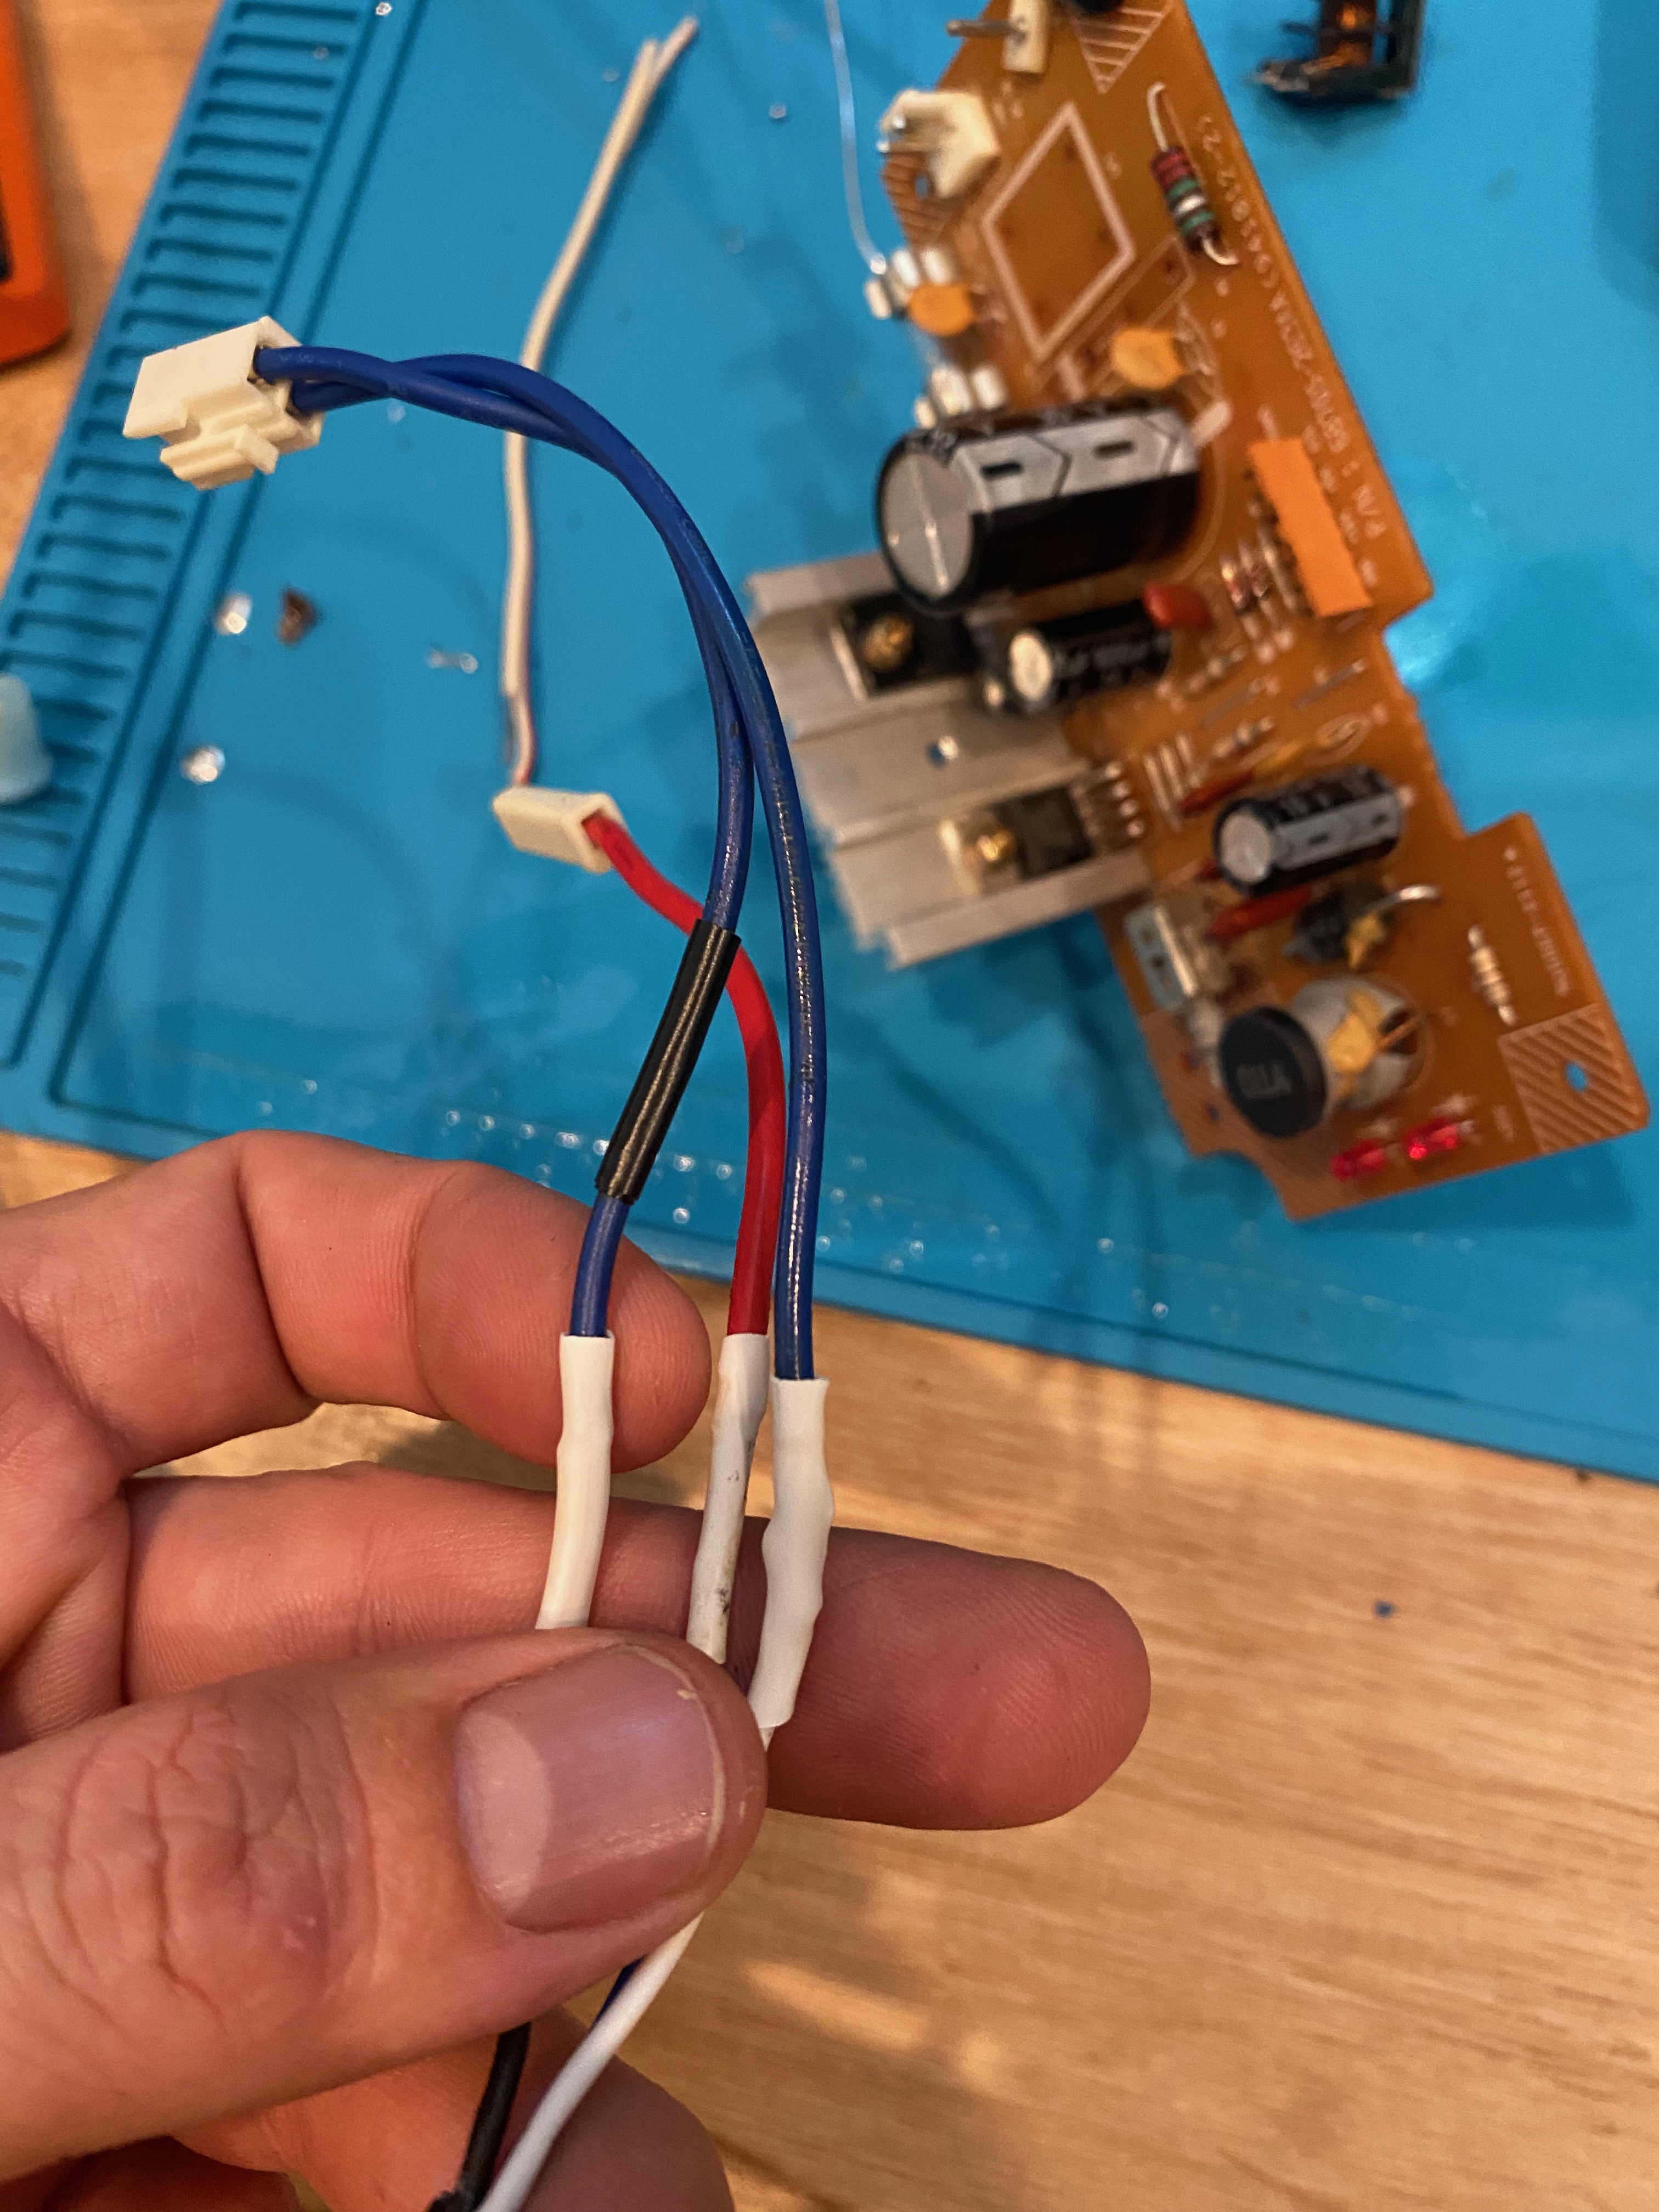
Now that the new power supply is all wired up and connected to the old wires and terminals (Figure 4). I wanted to do some new voltage testing. I did not have the power supply in the console at this point but I did turn it on and got red lights and proper voltage on all the pins that we would expect!! Made me very happy and optimistic. Again, sorry about the lack of pictures of all the testing of voltages and pins but I really didn’t plan to do this write up.
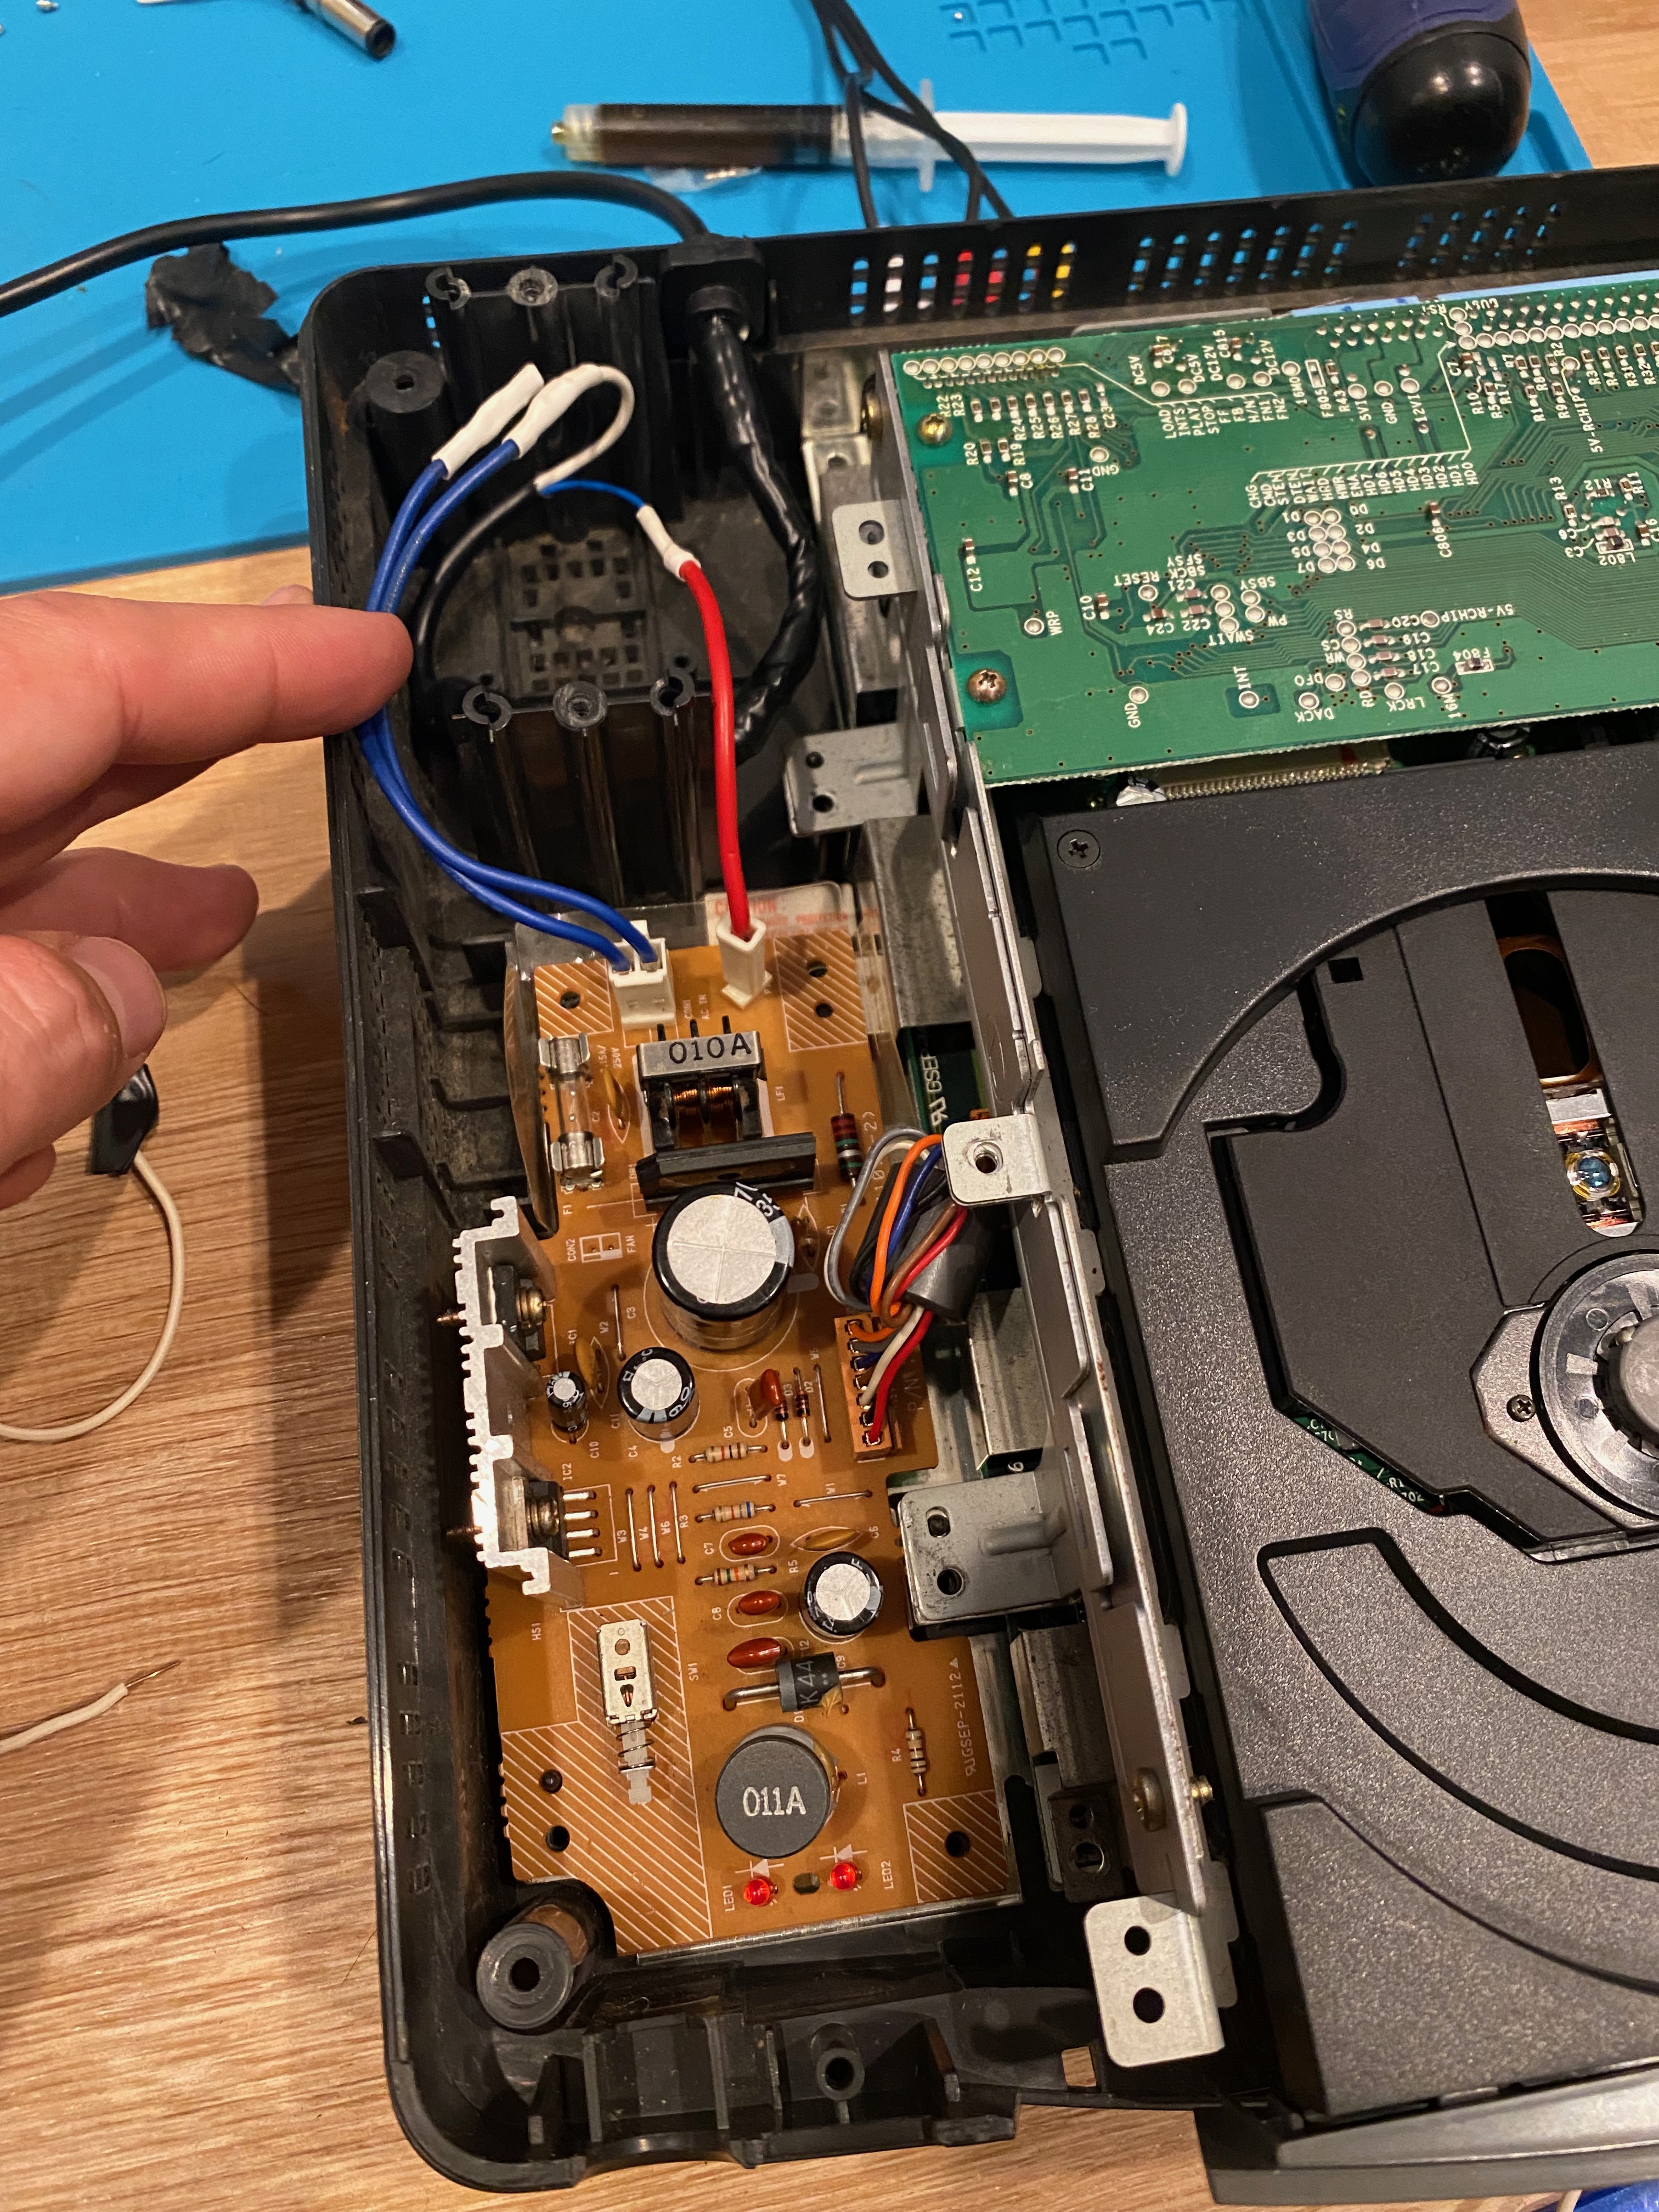
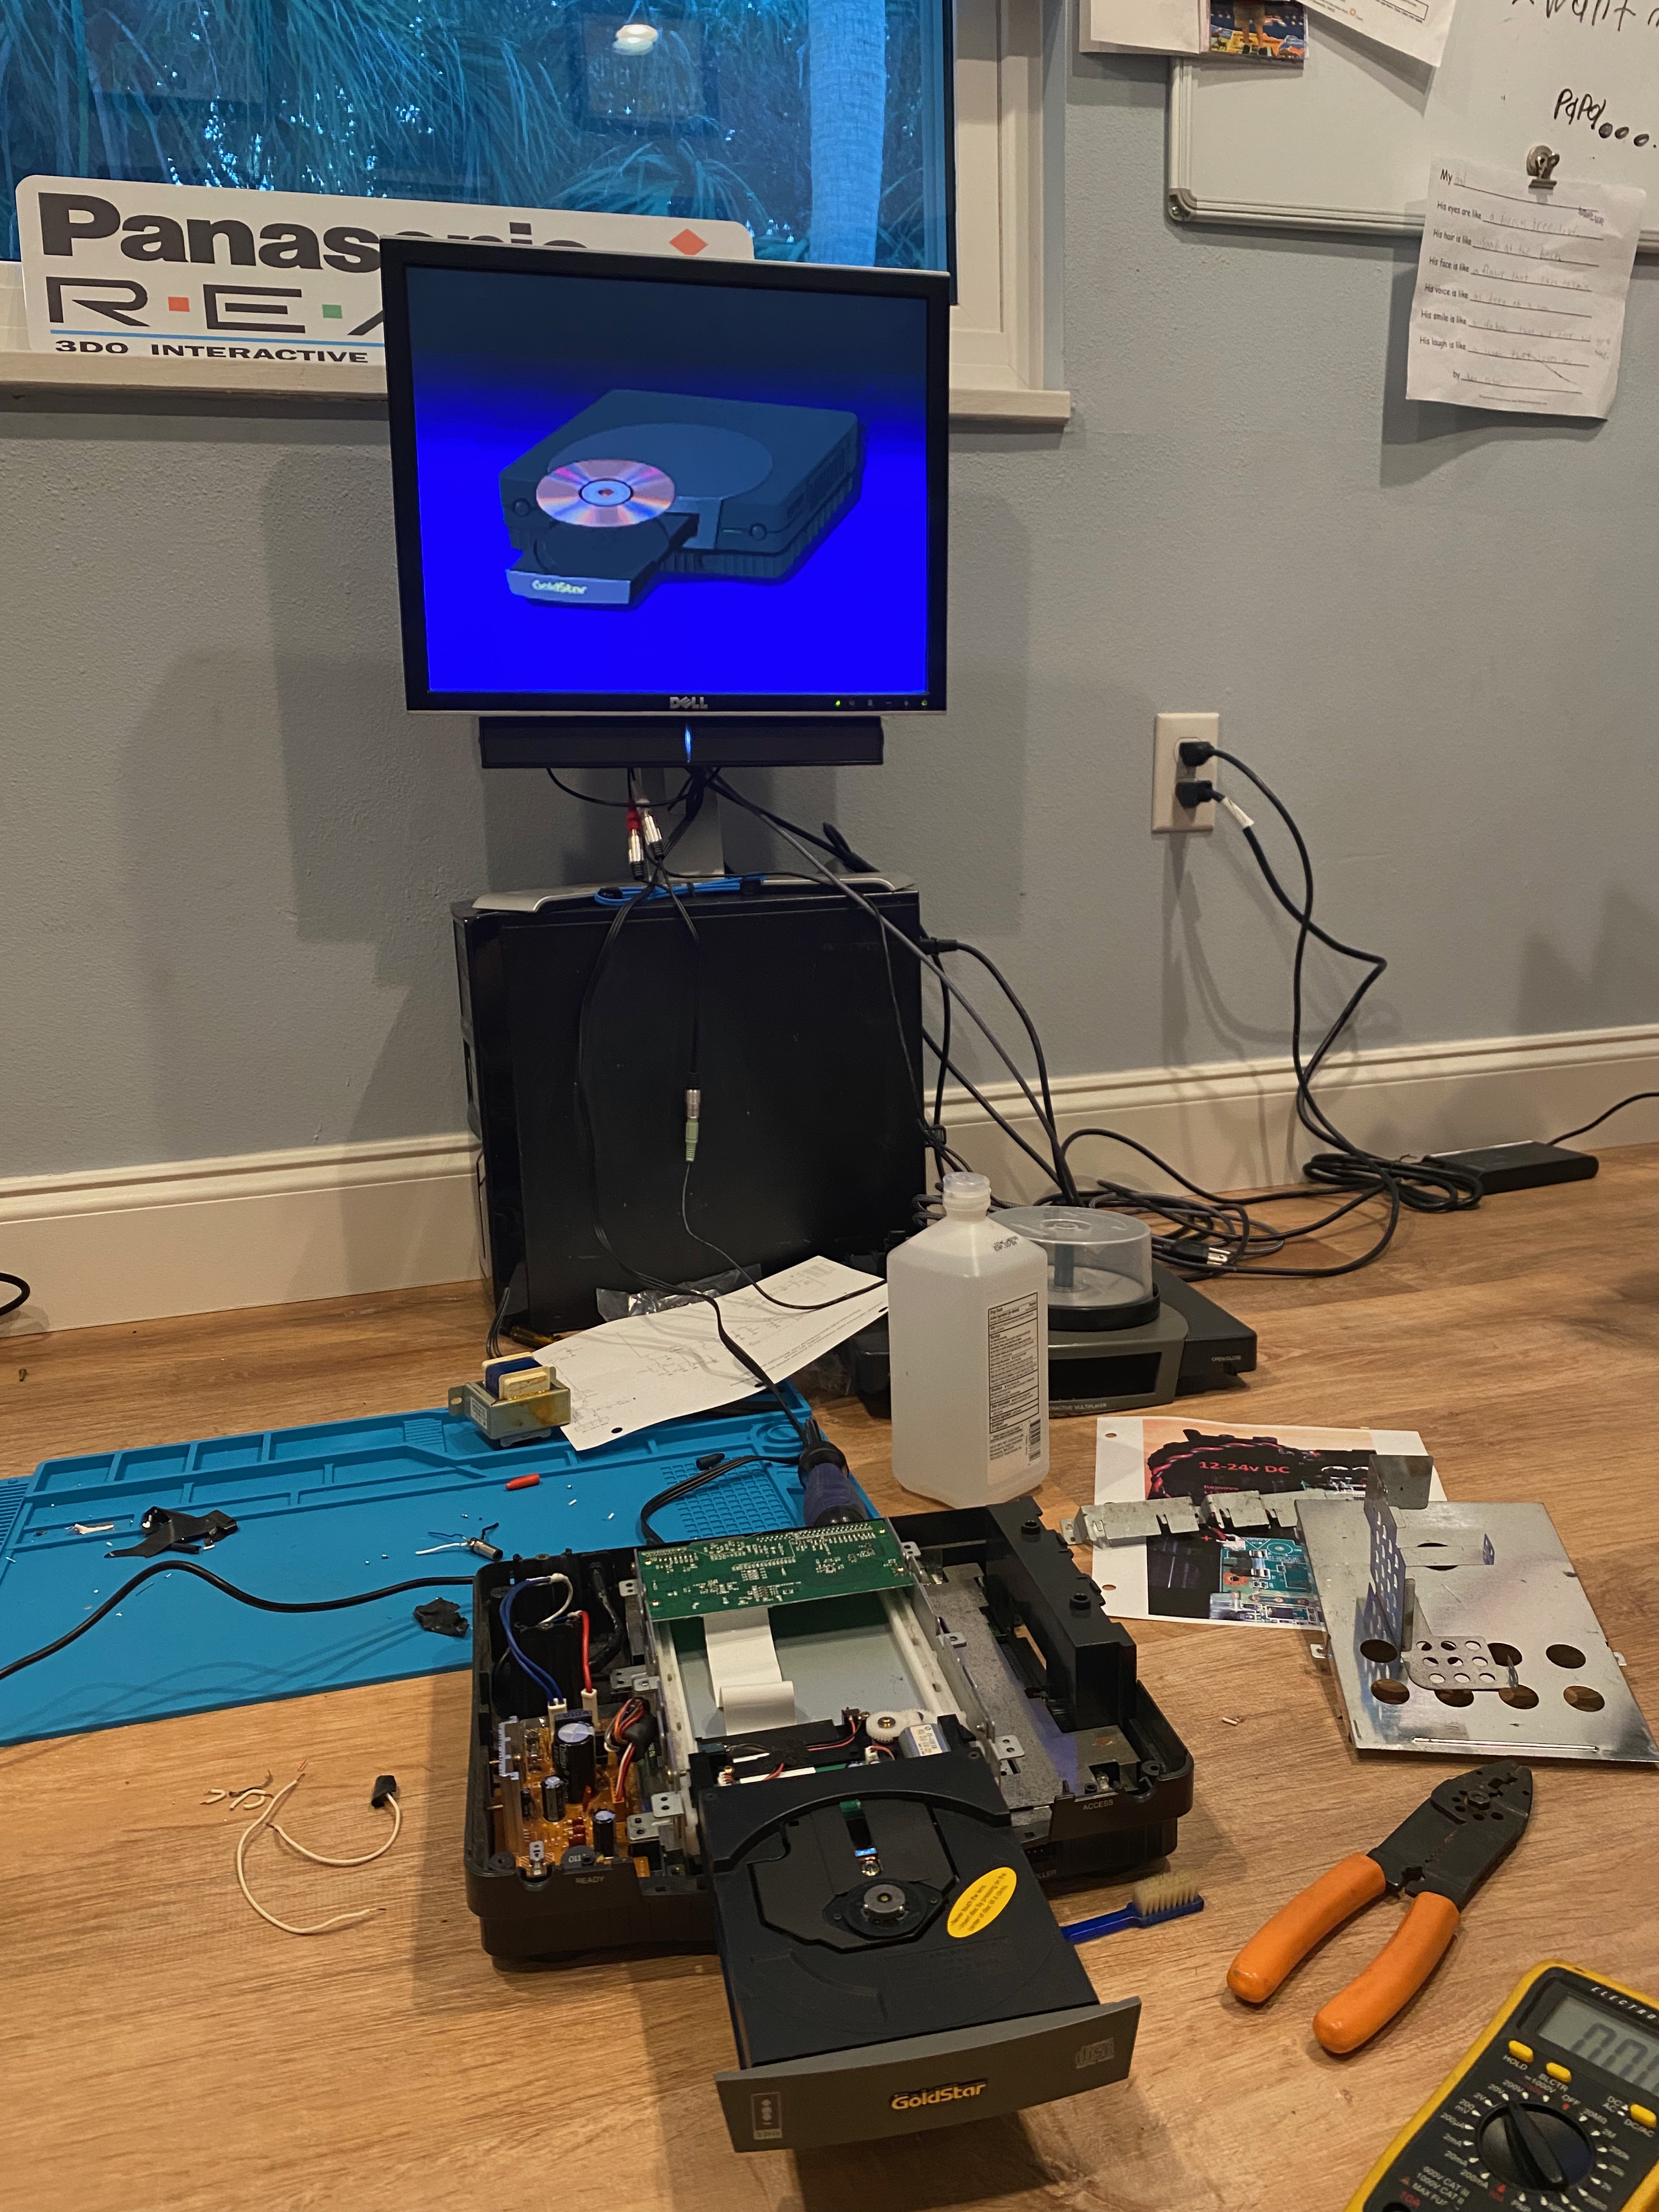
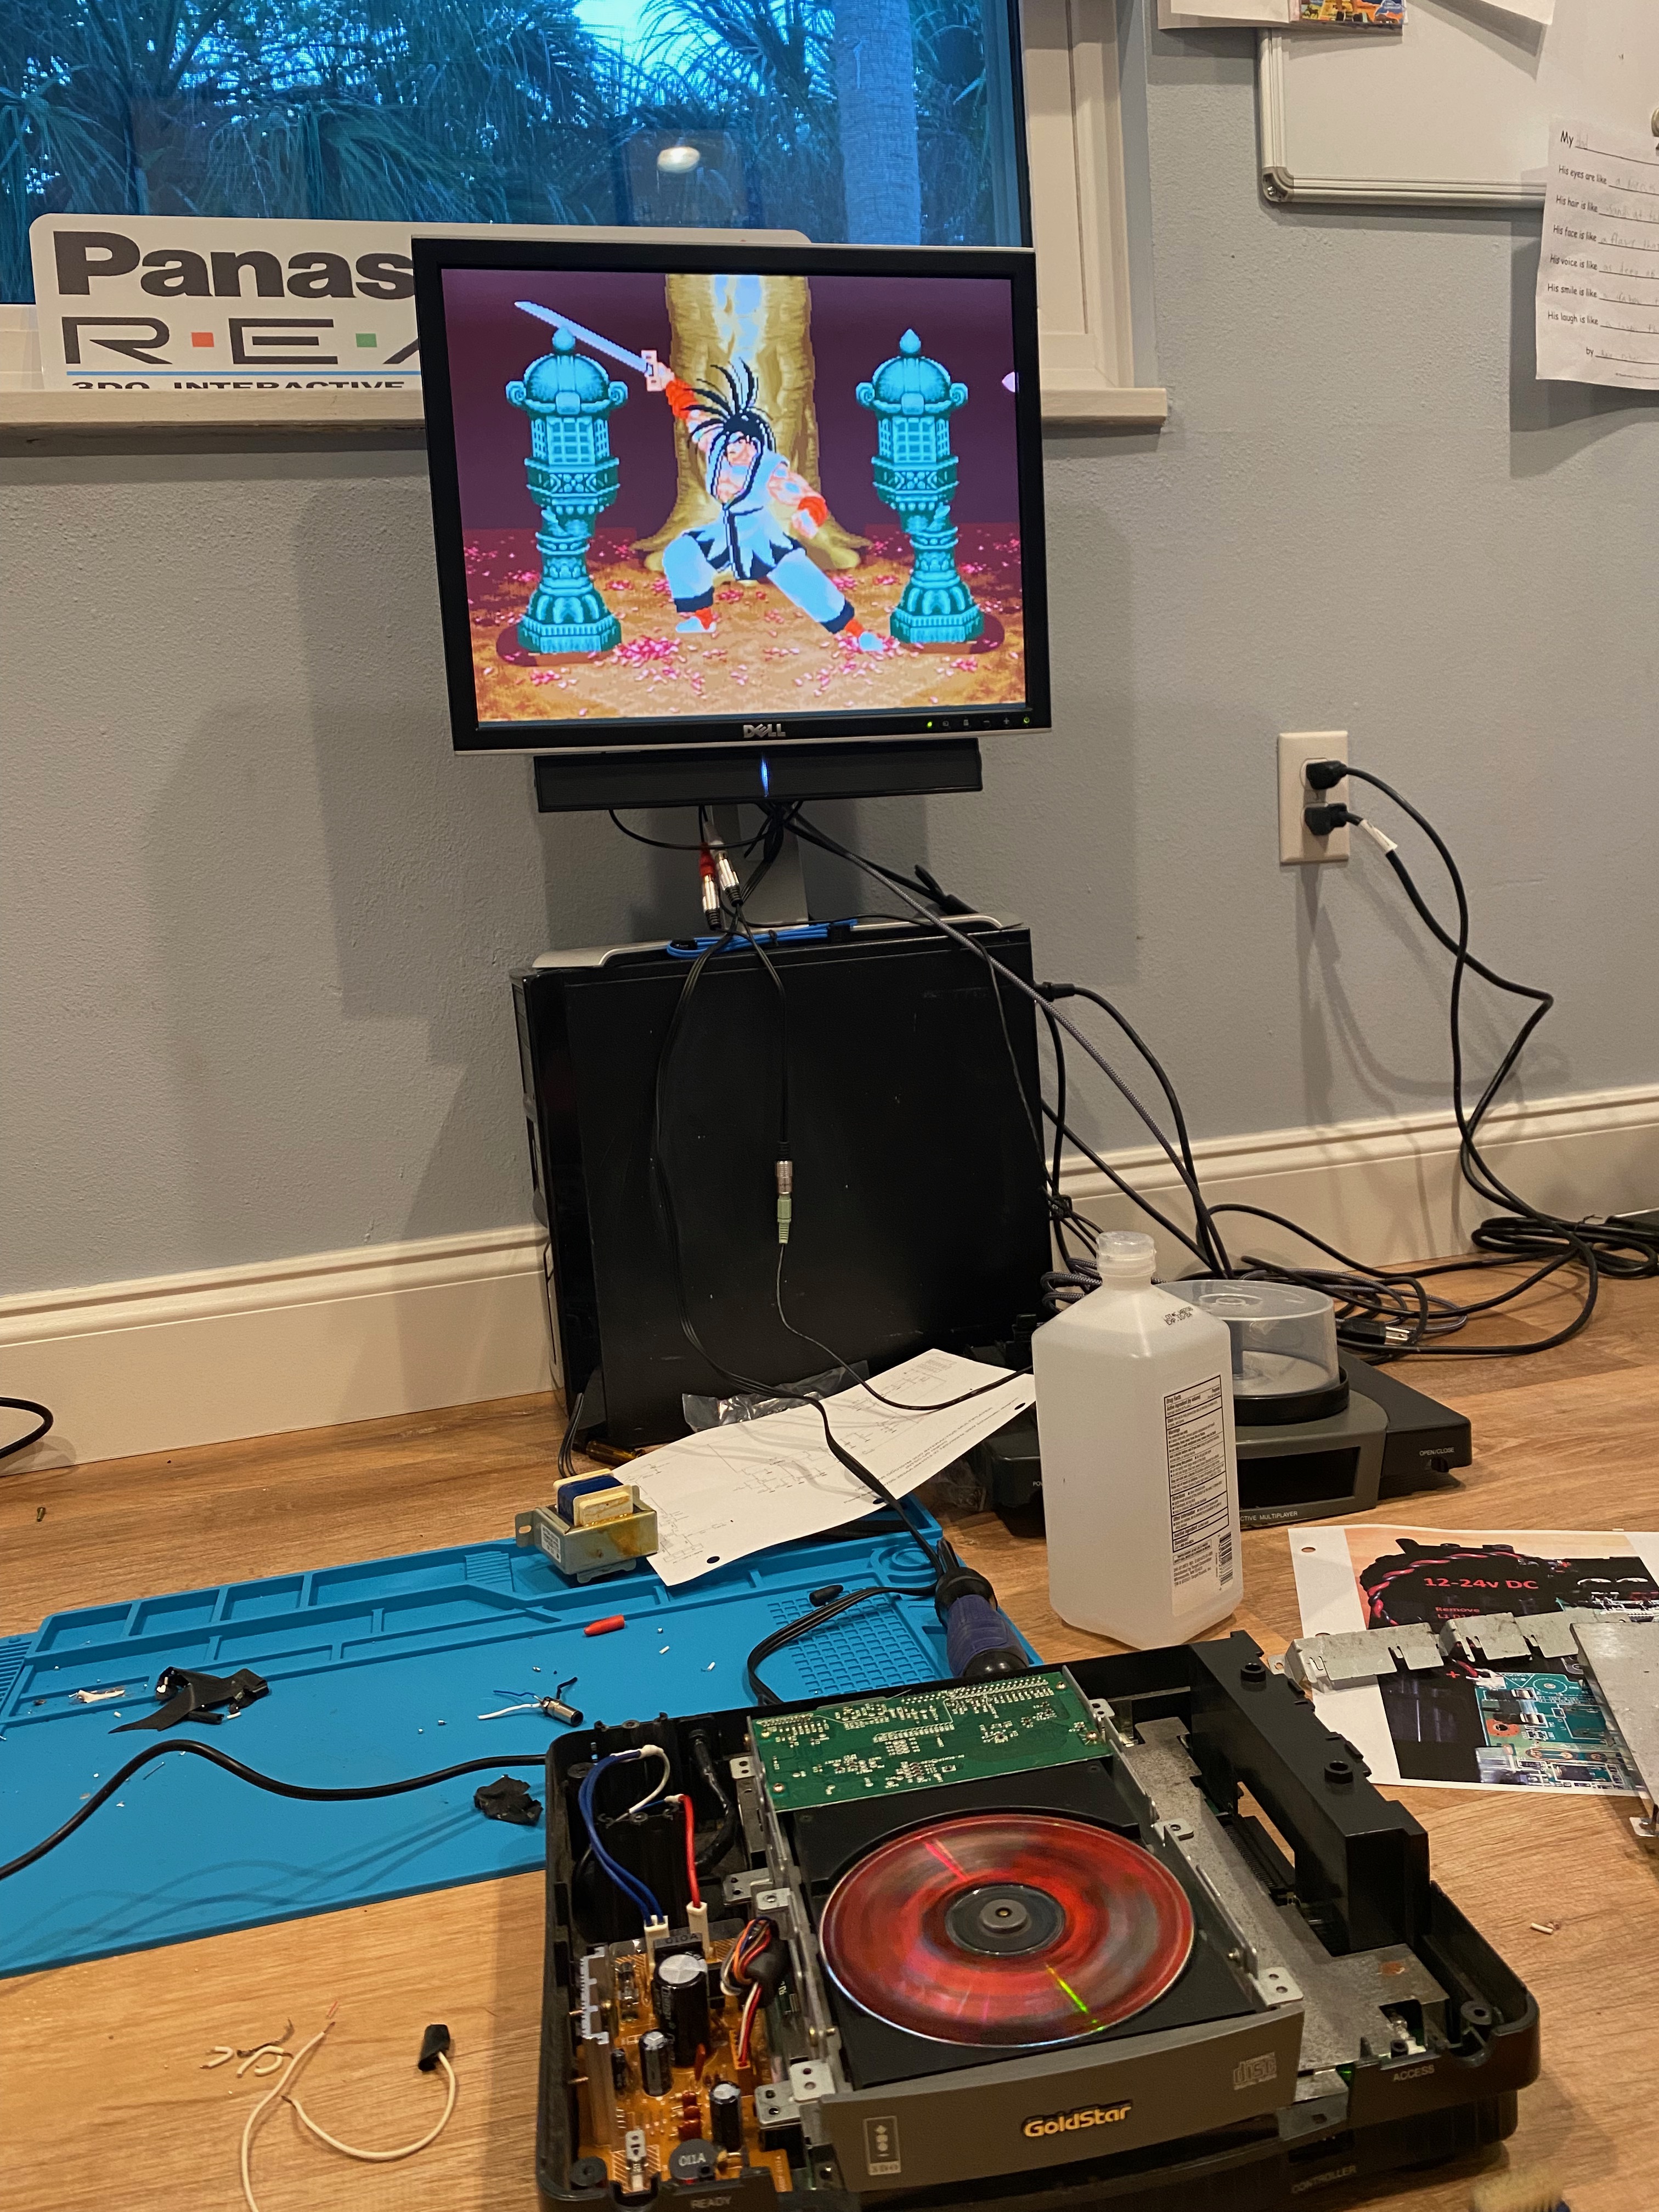
Now that I have the power supply and power board all working as we would expect it to be. I disconnected everything, reinstalled all the components into the console (I did not screw anything in) and connected it to the monitor (Figure 5). Holy crap it worked and had video!!!! Wow I am so excited right now I quickly dug around and grabbed a game. I placed the game in the console and fired it back up (Figure 6). It worked again! The video, sound and CD tray all worked perfect! I spent about 45 minutes playing Samurai Showdown. The console ran amazing and didn’t have any restarts or freezes.